Web
Overview
The Pyze Web SDK enables analytics tracking for any JavaScript-based web application. Once installed, Pyze automatically captures page views and allows you to track custom events and user profiles.
Prerequisites: Create a Pyze app and obtain your App Key before proceeding.
Getting Started
Step 1: Add the SDK
Paste the following JavaScript code between the <head> and </head> tags on every page:
// Start Pyze Script
<script type="text/javascript">
    var pyzeAppKey="YOUR_PYZE_APP_KEY";
    !function(e,t){var s=e.Pyze||{_q:[]},i=e.PyzeEvents||{_q:[]},n=e.PyzeCuratedEvents||{_q:[]},r=e.PyzeIdentity||{_q:[]};function p(t,e){function s(e){t[e]=function(){t._q.push([e].concat(Array.prototype.slice.call(arguments,0)))}}for(var i=0;i<e.length;i++)s(e[i])}p(s,["initialize","getTimerReference","getAppInstanceId","postWebAppVersion","postPageView","setUserOptOut","deleteUser"]),p(i,["postCustomEvent","startTimerForEvent","postCustomEventWithAttributes","postTimedEvent","postTimedEventWithAttributes","postExplicitActivation"]),p(n,["post"]),p(r,["setUserProfile","resetUserProfile","updateUserProfile"]);var o=t.createElement("script"),a=t.getElementsByTagName("script")[0];o.type="text/javascript",o.async=!0,o.src="https://cdn.pyze.com/pyze.js",a.parentNode.insertBefore(o,a),e.Pyze=s,e.PyzeEvents=i,e.PyzeCuratedEvents=n,e.PyzeIdentity=r}(window,document),Pyze.initialize(pyzeAppKey);
</script>
// End Pyze Script
Step 2: Verify Installation
The SDK provides two global variables:
Pyze- Core SDK functionsPyzeEvents- Event tracking functions
Open your browser console and type Pyze to verify the SDK loaded correctly.
Tracking Custom Events
Use custom events to track specific user actions beyond automatic page views.
Simple Event
Track that an action occurred:
PyzeEvents.postCustomEvent("Button Clicked");
Event with Attributes
Add context with key-value attributes (up to 99 per event):
var attributes = {
  "screen": "Home",
  "button_name": "Submit",
  "form_type": "Contact"
};
PyzeEvents.postCustomEventWithAttributes("Form Submitted", attributes);
Nested objects are supported:
var attributes = {
  "address": {
    "city": "Redwood City",
    "state": "CA",
    "phone": {
      "area": "408",
      "number": "555-1234"
    }
  }
};
PyzeEvents.postCustomEventWithAttributes("Address Updated", attributes);
Tip
Follow our Best Practices - use many attributes with fewer events for better analytics.Timed Events
Measure how long actions take:
// Start the timer
PyzeEvents.startTimerForEvent("Checkout Flow");

// ... user completes checkout ...

// End timer and send event
PyzeEvents.postTimedEvent("Checkout Flow");

// Or include additional attributes
PyzeEvents.postTimedEventWithAttributes("Checkout Flow", {
  "items": 3,
  "payment_method": "credit_card"
});
Note
The event name must match exactly betweenstartTimerForEvent and postTimedEvent.
Dimensions
Dimensions are attributes attached to all events in a session. Useful for session-wide context like user roles or feature flags.
var dimensions = {
  "department": "marketing",
  "role": "associate",
  "beta_user": true
};

Pyze.initialize(pyzeAppKey, dimensions);
User Profiles
Link events to specific users by setting a profile when they log in.
Identify a User
Call once when a user logs in:
PyzeIdentity.setUserProfile(
  "user-123",                          // Unique user ID
  {                                    // Pyze profile attributes
    "email_id": "john@example.com",
    "first_name": "John",
    "last_name": "Smith"
  },
  {                                    // Custom attributes
    "department": "Sales",
    "plan": "premium"
  }
);
Update Profile
Modify attributes for an already-identified user:
PyzeIdentity.updateUserProfile(
  { "email_id": "john.smith@example.com" },
  { "plan": "enterprise" }
);
Note
Only callupdateUserProfile after setUserProfile has been called.
Clear Profile on Logout
Reset identity when user logs out:
PyzeIdentity.resetUserProfile();
Supported Profile Fields
| Field | Format | Example |
|---|---|---|
email_id |
string | "user@example.com" |
first_name |
string | "John" |
last_name |
string | "Smith" |
date_of_birth |
YYYY-MM-DD | "1990-05-15" |
phone |
string | "+1-555-1234" |
gender |
M/F/O/N/P/U | "M" |
country |
ISO-3166-1 alpha-2 | "US" |
language |
ISO-639-1 | "en" |
home_city |
string | "San Francisco" |
time_zone |
IANA timezone | "America/Los_Angeles" |
current_location |
object | {"longitude": -122.42, "latitude": 37.77} |
image_url |
string | URL of user’s profile image |
background |
string | Biography or notes |
User Privacy
Opt Out of Tracking
Allow users to stop data collection:
Pyze.setUserOptOut(true);   // Stop collecting
Pyze.setUserOptOut(false);  // Resume collecting
Delete User Data
Permanently remove all user data from Pyze:
Pyze.deleteUser(true);
Warning
This action is irreversible. All historical data for this user will be permanently deleted.Single Page Applications (SPA)
For SPAs, Pyze requires manual page view tracking when routes change.
React
import { useHistory } from 'react-router-dom';

const history = useHistory();

history.listen((location) => {
  Pyze.postPageView(document.title, location.pathname);
});
Vue.js
router.afterEach((to, from) => {
  Pyze.postPageView(to.name, to.path);
});
AngularJS
yourAngularApp.run(function($rootScope) {
  $rootScope.$on('$stateChangeSuccess', function(event, toState) {
    Pyze.postPageView(toState.name, toState.url);
  });
});
Platform Integrations
Squarespace
- Log in to your Squarespace site
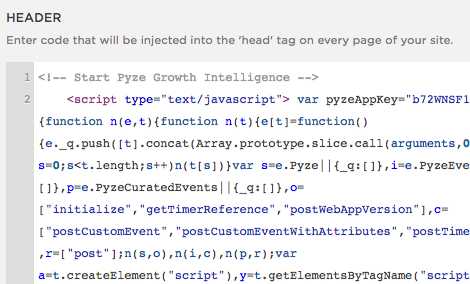
- Go to Settings → Advanced → Code Injection
- Paste the Pyze snippet in the Header section:
// Start Pyze Script
<script type="text/javascript">
    var pyzeAppKey="YOUR_PYZE_APP_KEY";
    !function(e,t){var s=e.Pyze||{_q:[]},i=e.PyzeEvents||{_q:[]},n=e.PyzeCuratedEvents||{_q:[]},r=e.PyzeIdentity||{_q:[]};function p(t,e){function s(e){t[e]=function(){t._q.push([e].concat(Array.prototype.slice.call(arguments,0)))}}for(var i=0;i<e.length;i++)s(e[i])}p(s,["initialize","getTimerReference","getAppInstanceId","postWebAppVersion","postPageView","setUserOptOut","deleteUser"]),p(i,["postCustomEvent","startTimerForEvent","postCustomEventWithAttributes","postTimedEvent","postTimedEventWithAttributes","postExplicitActivation"]),p(n,["post"]),p(r,["setUserProfile","resetUserProfile","updateUserProfile"]);var o=t.createElement("script"),a=t.getElementsByTagName("script")[0];o.type="text/javascript",o.async=!0,o.src="https://cdn.pyze.com/pyze.js",a.parentNode.insertBefore(o,a),e.Pyze=s,e.PyzeEvents=i,e.PyzeCuratedEvents=n,e.PyzeIdentity=r}(window,document),Pyze.initialize(pyzeAppKey);
</script>
// End Pyze Script
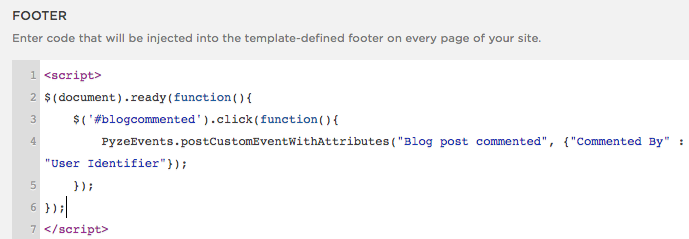
- Add event tracking in the Footer section:
jQuery(document).ready(function($) {
  $('#BlogPost_Read').click(function() {
    PyzeEvents.postCustomEvent("Blog post read");
  });
});
Wix
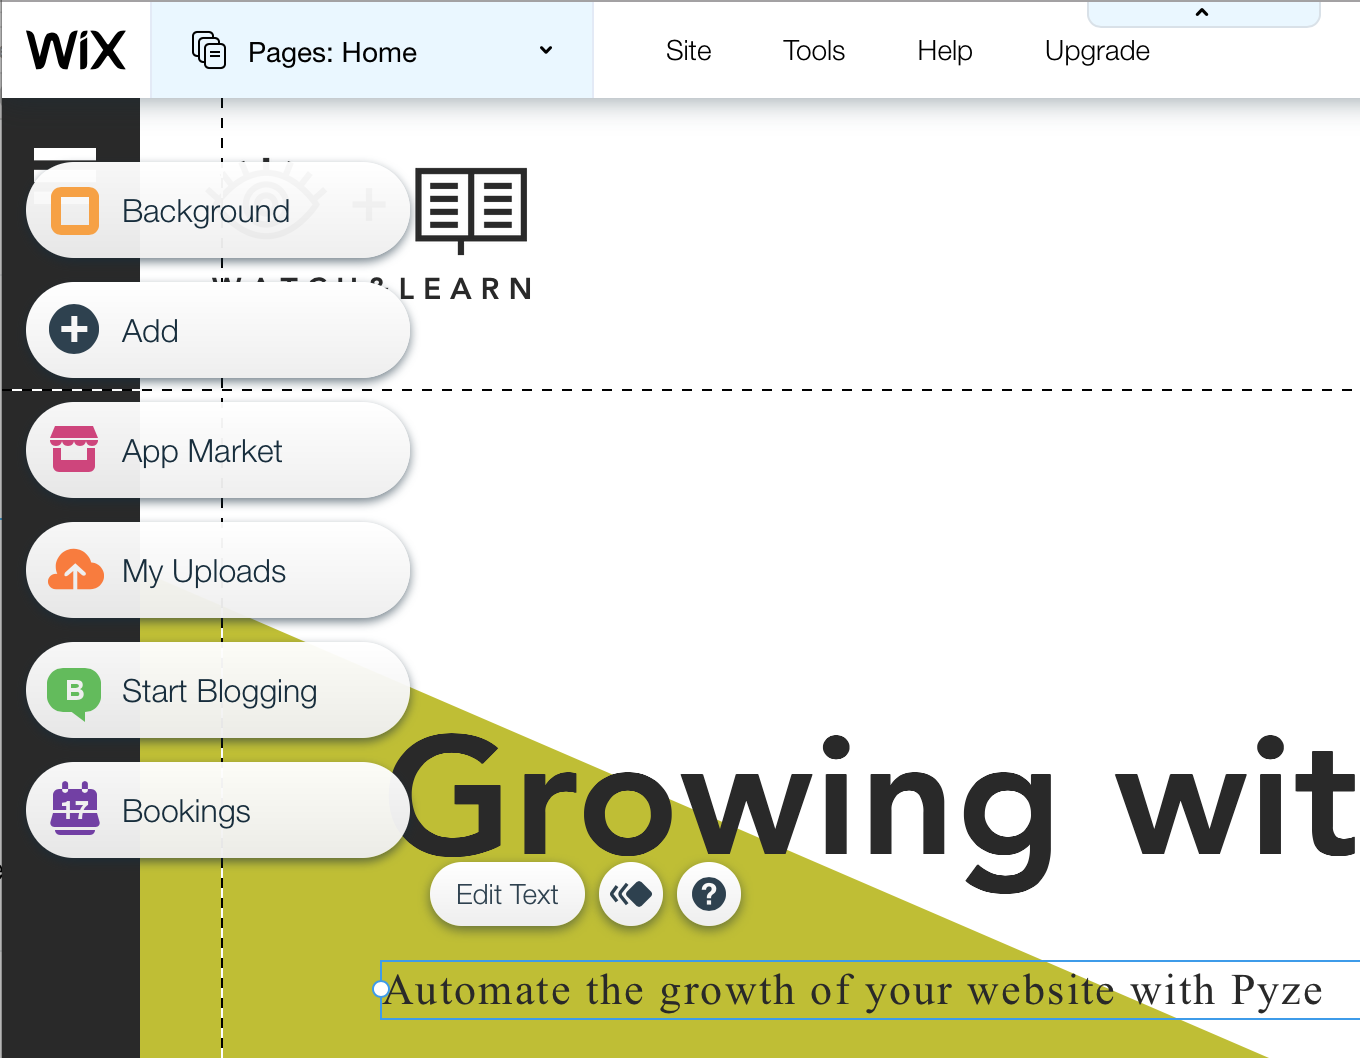
- Log in to your Wix site and open the Editor
- Click the Add (+) icon
- Select More → HTML code
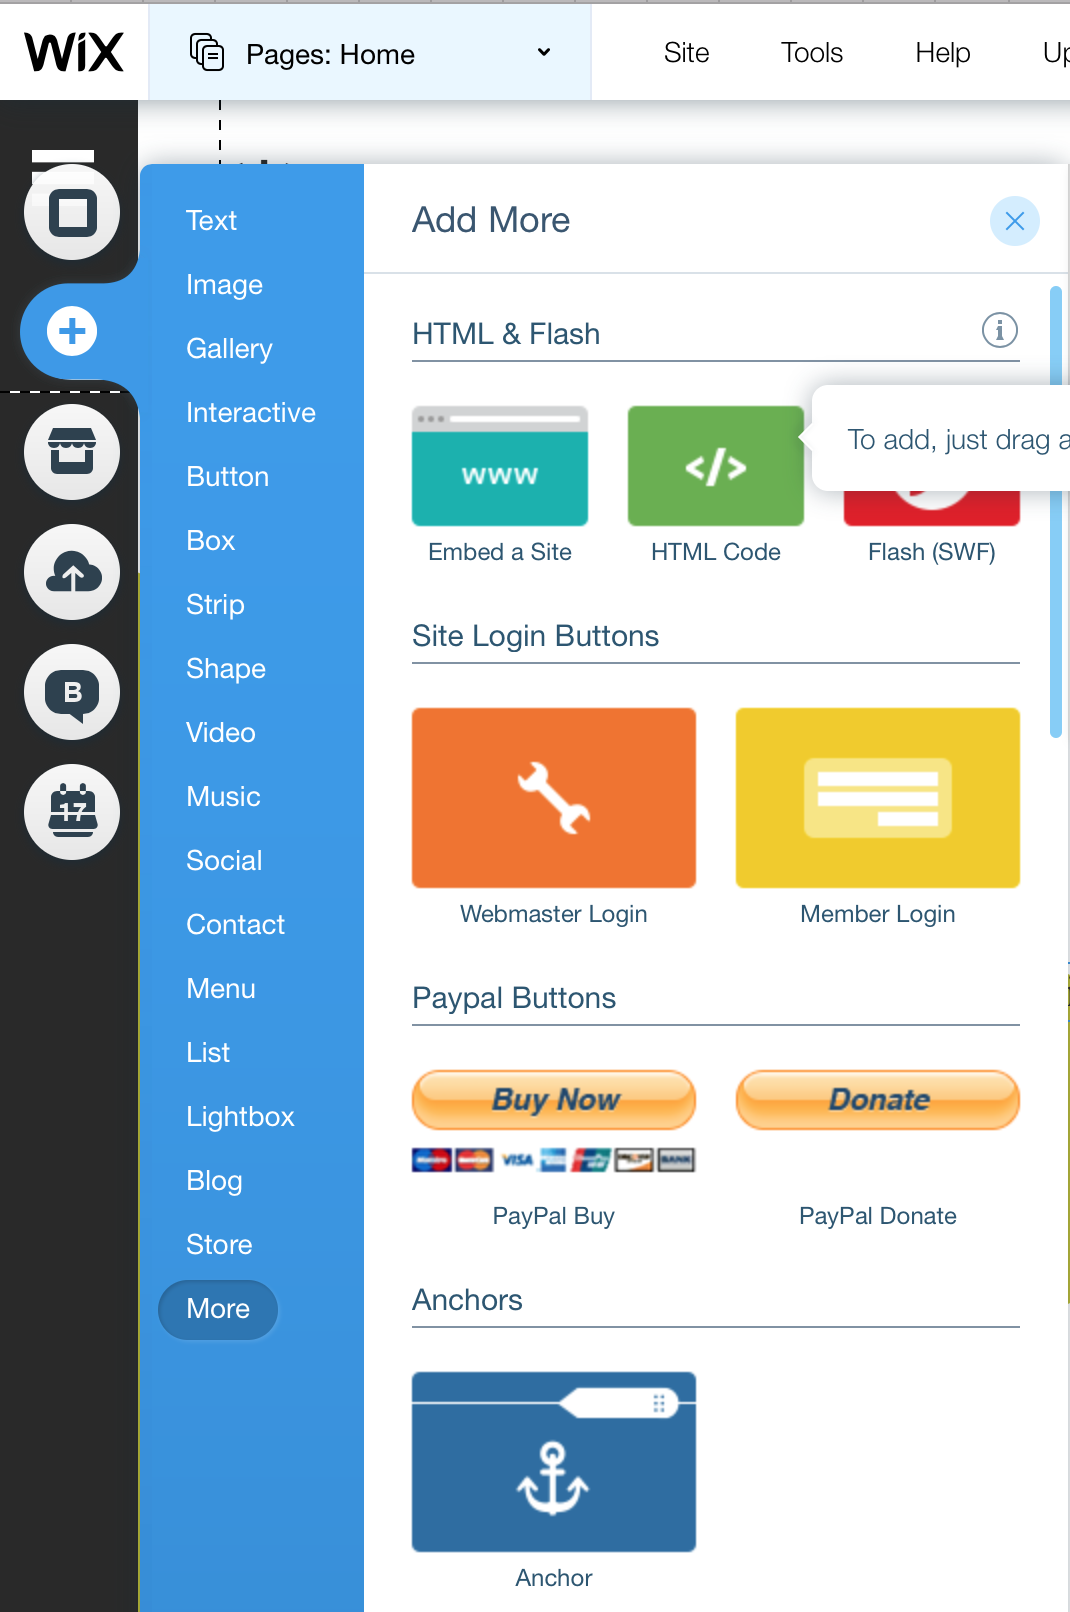
- Paste the Pyze snippet:
// Start Pyze Script
<script type="text/javascript">
    var pyzeAppKey="YOUR_PYZE_APP_KEY";
    !function(e,t){var s=e.Pyze||{_q:[]},i=e.PyzeEvents||{_q:[]},n=e.PyzeCuratedEvents||{_q:[]},r=e.PyzeIdentity||{_q:[]};function p(t,e){function s(e){t[e]=function(){t._q.push([e].concat(Array.prototype.slice.call(arguments,0)))}}for(var i=0;i<e.length;i++)s(e[i])}p(s,["initialize","getTimerReference","getAppInstanceId","postWebAppVersion","postPageView","setUserOptOut","deleteUser"]),p(i,["postCustomEvent","startTimerForEvent","postCustomEventWithAttributes","postTimedEvent","postTimedEventWithAttributes","postExplicitActivation"]),p(n,["post"]),p(r,["setUserProfile","resetUserProfile","updateUserProfile"]);var o=t.createElement("script"),a=t.getElementsByTagName("script")[0];o.type="text/javascript",o.async=!0,o.src="https://cdn.pyze.com/pyze.js",a.parentNode.insertBefore(o,a),e.Pyze=s,e.PyzeEvents=i,e.PyzeCuratedEvents=n,e.PyzeIdentity=r}(window,document),Pyze.initialize(pyzeAppKey);
</script>
// End Pyze Script
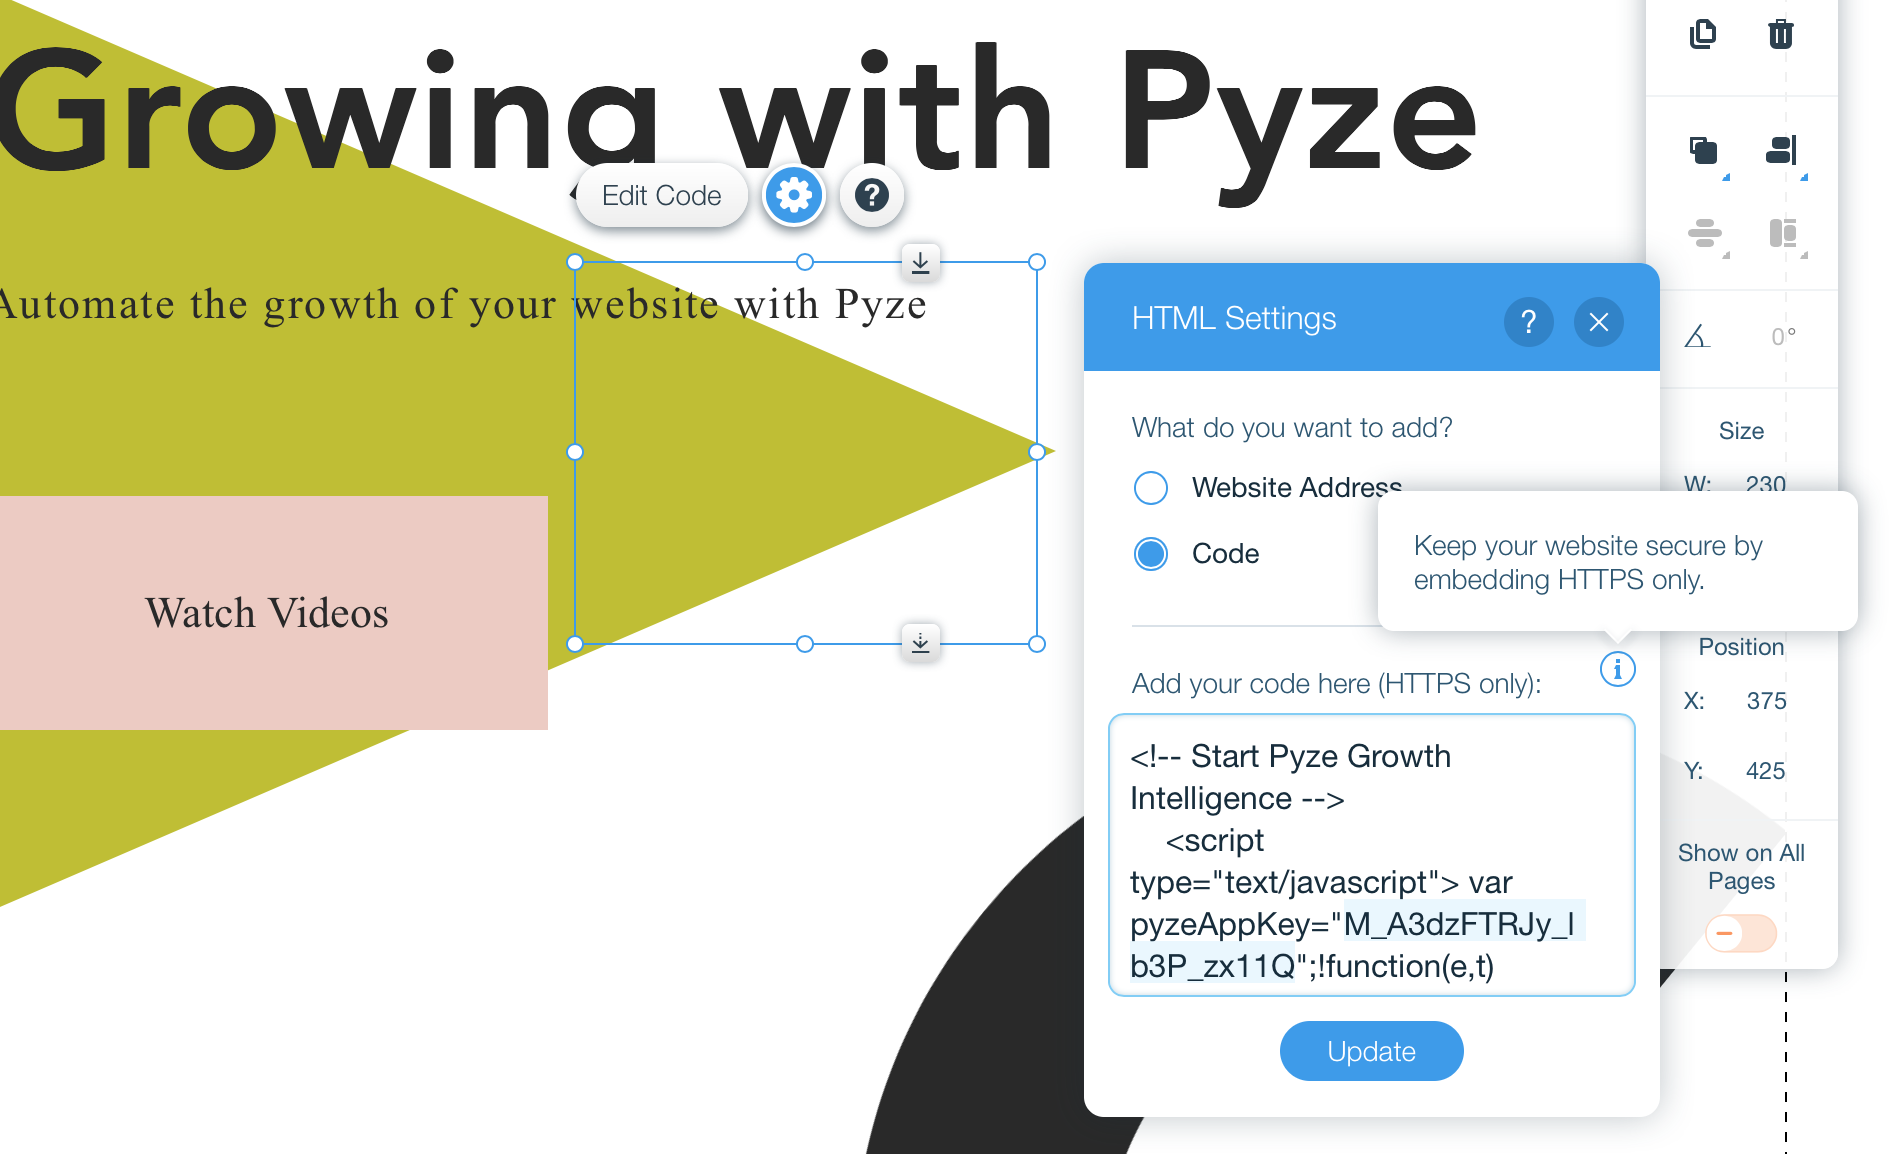
- Enable Show on all pages
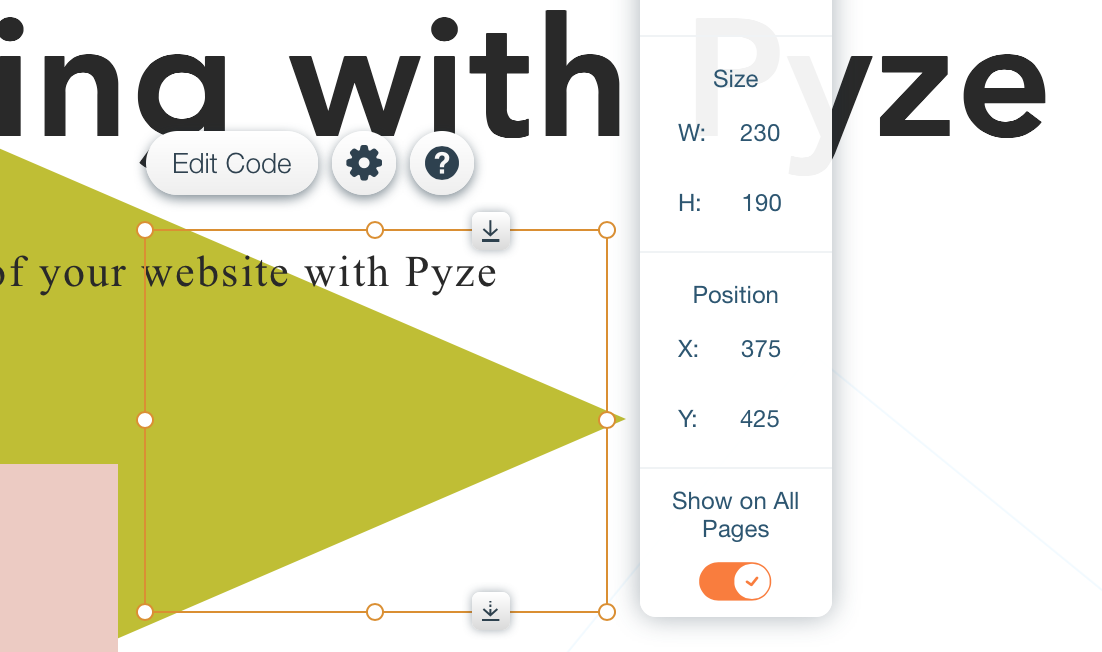
- Save and Publish
WordPress (Self-Hosted)
- Go to Appearance → Editor
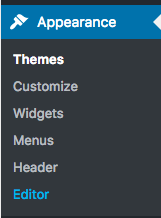
- Open header.php
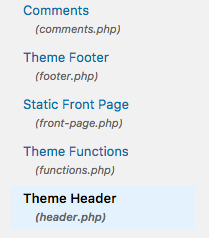
- Paste the Pyze snippet before
</head>:
// Start Pyze Script
<script type="text/javascript">
    var pyzeAppKey="YOUR_PYZE_APP_KEY";
    !function(e,t){var s=e.Pyze||{_q:[]},i=e.PyzeEvents||{_q:[]},n=e.PyzeCuratedEvents||{_q:[]},r=e.PyzeIdentity||{_q:[]};function p(t,e){function s(e){t[e]=function(){t._q.push([e].concat(Array.prototype.slice.call(arguments,0)))}}for(var i=0;i<e.length;i++)s(e[i])}p(s,["initialize","getTimerReference","getAppInstanceId","postWebAppVersion","postPageView","setUserOptOut","deleteUser"]),p(i,["postCustomEvent","startTimerForEvent","postCustomEventWithAttributes","postTimedEvent","postTimedEventWithAttributes","postExplicitActivation"]),p(n,["post"]),p(r,["setUserProfile","resetUserProfile","updateUserProfile"]);var o=t.createElement("script"),a=t.getElementsByTagName("script")[0];o.type="text/javascript",o.async=!0,o.src="https://cdn.pyze.com/pyze.js",a.parentNode.insertBefore(o,a),e.Pyze=s,e.PyzeEvents=i,e.PyzeCuratedEvents=n,e.PyzeIdentity=r}(window,document),Pyze.initialize(pyzeAppKey);
</script>
// End Pyze Script
- For event tracking, create
events.js:
jQuery(document).ready(function($) {
  $('#BlogPost_Read').click(function() {
    PyzeEvents.postCustomEvent("Blog post read");
  });
});
- Include it in header.php:
<script type="text/javascript" src="/events.js"></script>
Data Hashing
If the Pyze agent has been configured to collect sensitive data (such as email addresses, user IDs, or other PII), consider hashing the data before it is sent to Pyze. See the Data Hashing documentation for details.
API Reference
See the full Web API Reference for all available methods.
| Method | Description |
|---|---|
Pyze.initialize(appKey, dimensions) |
Initialize SDK with optional dimensions |
Pyze.postPageView(title, path) |
Track page view (for SPAs) |
Pyze.setUserOptOut(boolean) |
Toggle data collection |
Pyze.deleteUser(boolean) |
Delete user data |
PyzeEvents.postCustomEvent(name) |
Track a simple event |
PyzeEvents.postCustomEventWithAttributes(name, attrs) |
Track event with attributes |
PyzeEvents.startTimerForEvent(name) |
Start timing an event |
PyzeEvents.postTimedEvent(name) |
Post timed event |
PyzeEvents.postTimedEventWithAttributes(name, attrs) |
Post timed event with attributes |
PyzeIdentity.setUserProfile(id, pyzeAttrs, customAttrs) |
Identify a user |
PyzeIdentity.updateUserProfile(pyzeAttrs, customAttrs) |
Update user attributes |
PyzeIdentity.resetUserProfile() |
Clear user identity |